Create your first data model
You may also view this tutorial on YouTube. Summary slides can be found here.
After installation and software key validation, you are now ready to run Hackolade Studio and create your first data model. By the end of this tutorial, you will master different ways to enter information in Hackolade Studio, as well as different ways to visualize structures you've created.
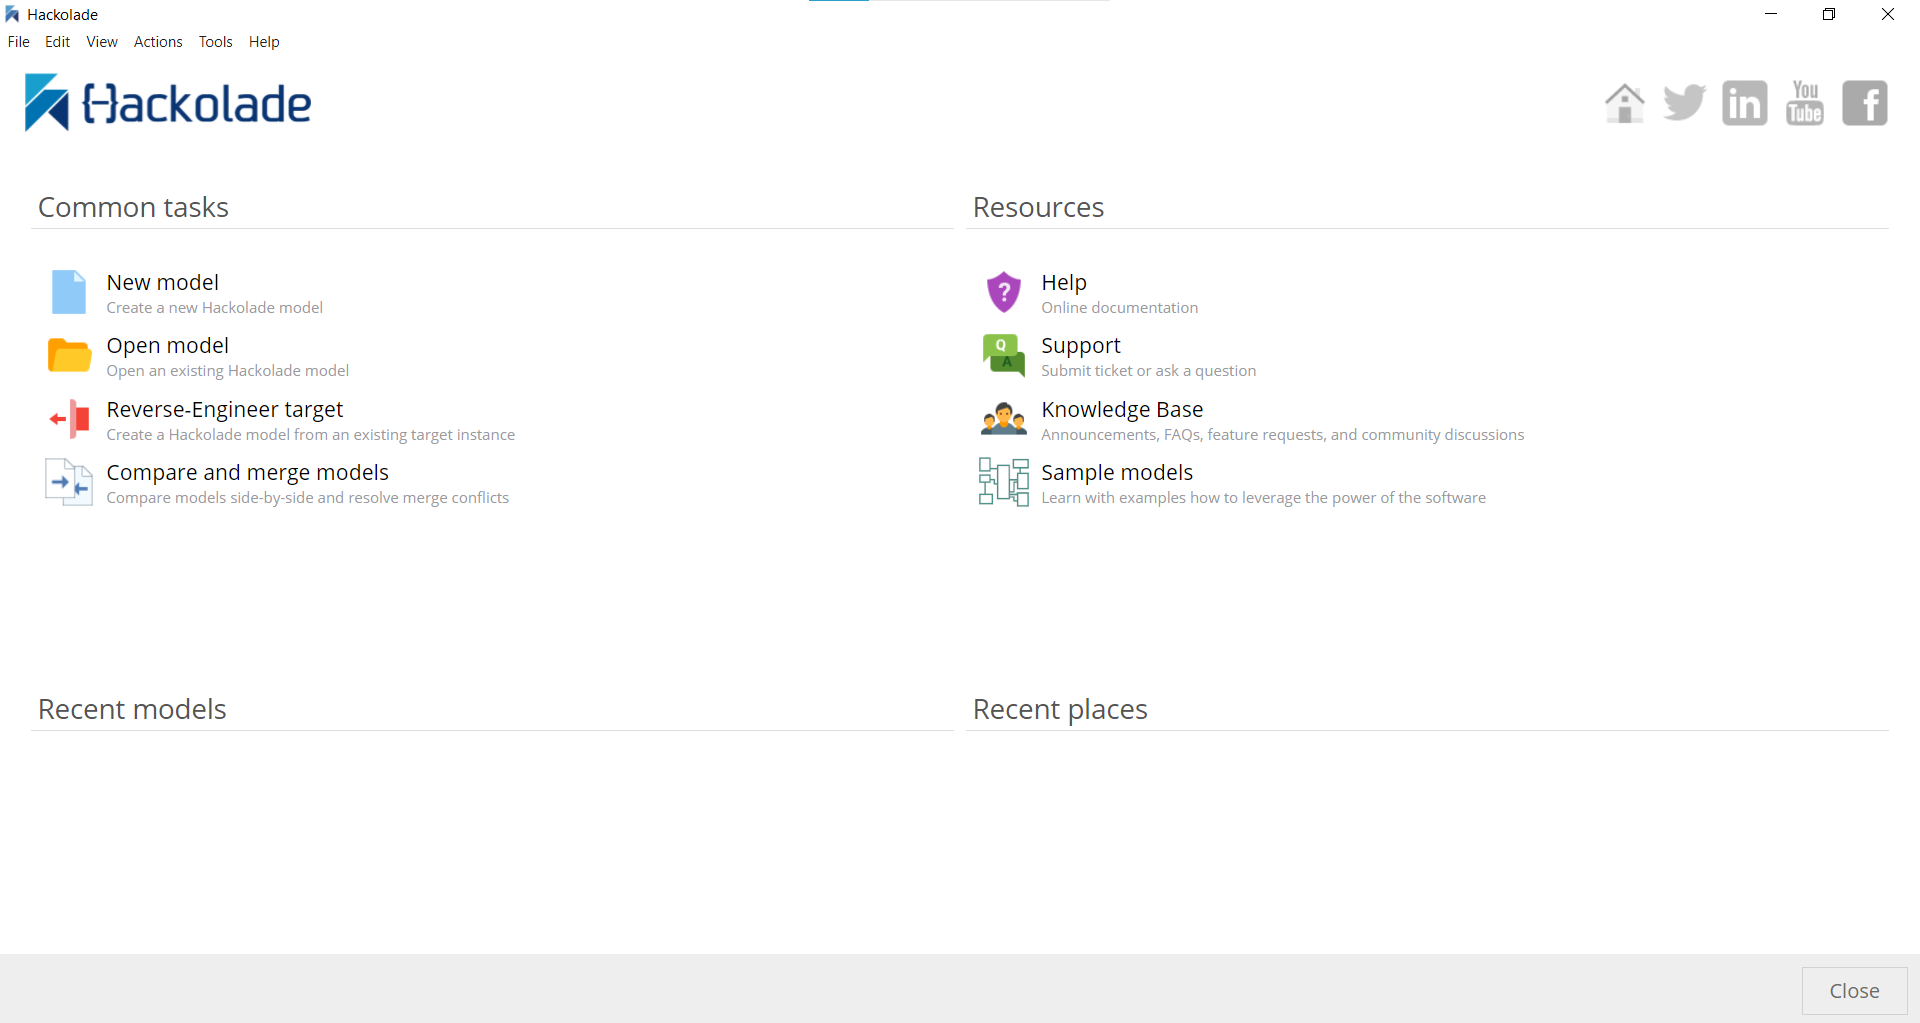
The application starts with a Welcome Page (there's also a slide show overview of the application functionality, but will skip this here):
Choose the target for your data model
If you click "New Model", you are presented with a dialog to choose your target:

The application is shipped standard with some built-in targets: Polyglot, JSON, Couchbase, DynamoDB, and MongoDB. If you wish to create a data model for a different target, you first need to install the corresponding plugin. Some plugins are available for different versions of the target technology.
Choose the target of your choice, the target version if appropriate, then click the Create button. For the purpose of this tutorial, we are going to select the JSON Schema specification 2019-09.
You are presented with a blank workspace. Refer to the overview of the user interface for more details.
Create your data model
There are 2 main ways to create a data model: you either build your data model from scratch based on your analysis of requirements, or you can reverse-engineer from a variety of sources: an existing instance, from JSON documents or JSON Schema, from SQL DDLs, or from XSDs. For the purpose of this tutorial, we will start a model from scratch.
There are many ways to create a data model in Hackolade Studio: using the menu bar, with the toolbar buttons, with keyboard shortcuts, with contextual menus in the ERD pane, or with contextual menus in the Object Browser.
Let' do a right-click in the middle ERD pane and choose Add document:

Then in the Properties pane on the right, let's give a name to this document:

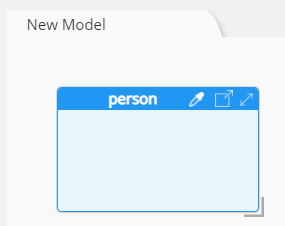
We now have our first entity in the ERD:
To add our first attribute, we can use right-click again to get the contextual menu and choose the data type String:

We can give it a name:

So it appears in the ERD:

We can add a new field by clicking the Append Field button in the toolbar:

and give it a name:

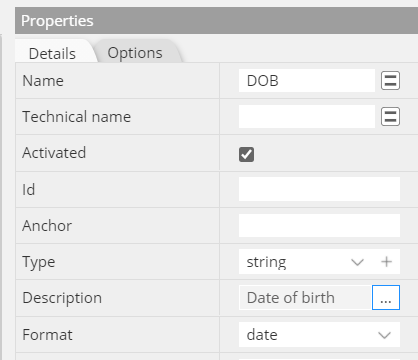
When adding new field DOB, we can see that a description can be added as well as a format to create a constraint for the field:
When adding another field, we can see also that we can pick a different data type from the list. This list is specific to each technology target.
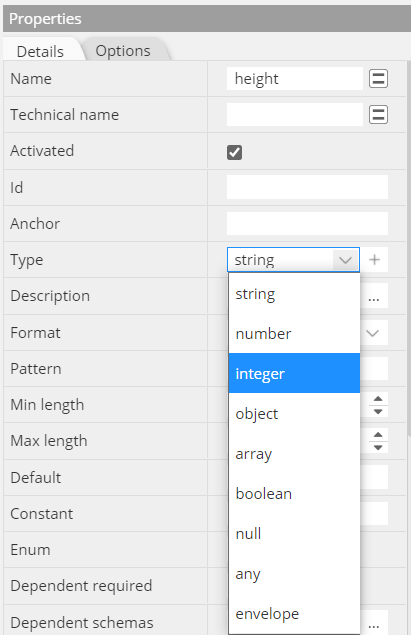
You may add additional constraints and descriptive properties, default, enumerations, examples, etc...
You may move the attributes up or down, either using the up and down arrow keys in the toolbar:

or by grabbing the handle on the left of the attribute name in the ERD:

The Options tab in the Properties Pane lets you:
- in the ERD for a container, change the color and font style (bold and italic);
- for an entity, change the color and font style (bold and italic), but also toggle auto-height and auto width as you add attributes;
- for an attribute, change the color and font style (bold and italic)
Hierarchical schema view
In addition to the ERD view, it is possible to have a detailed view of each entity in its own tab, which will be particularly handy in the next tutorial:

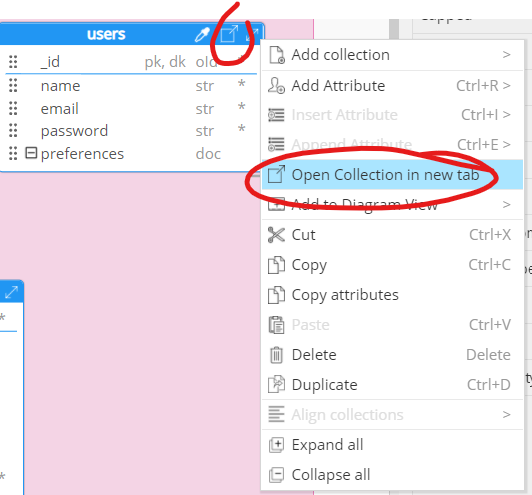
We call it the "hierarchical schema view" because it let's you easily create and visualize nested structures. There are many ways to open this view:
- double click on the entity title
- click once on the middle-right icon in the entity title
- right-click on the entity title and choose Open in new tab
- right-click on the entity name in the Object Browser on the left, and choose Open in new tab, or double-click on the entity name
JSON Preview
In this upper tab dedicated to a specific entity, there are several lower tabs. The JSON Preview tab provides 2 side-by-side panes: one for the JSON Schema of the entity, and the other tab is for a sample JSON document of the structure:
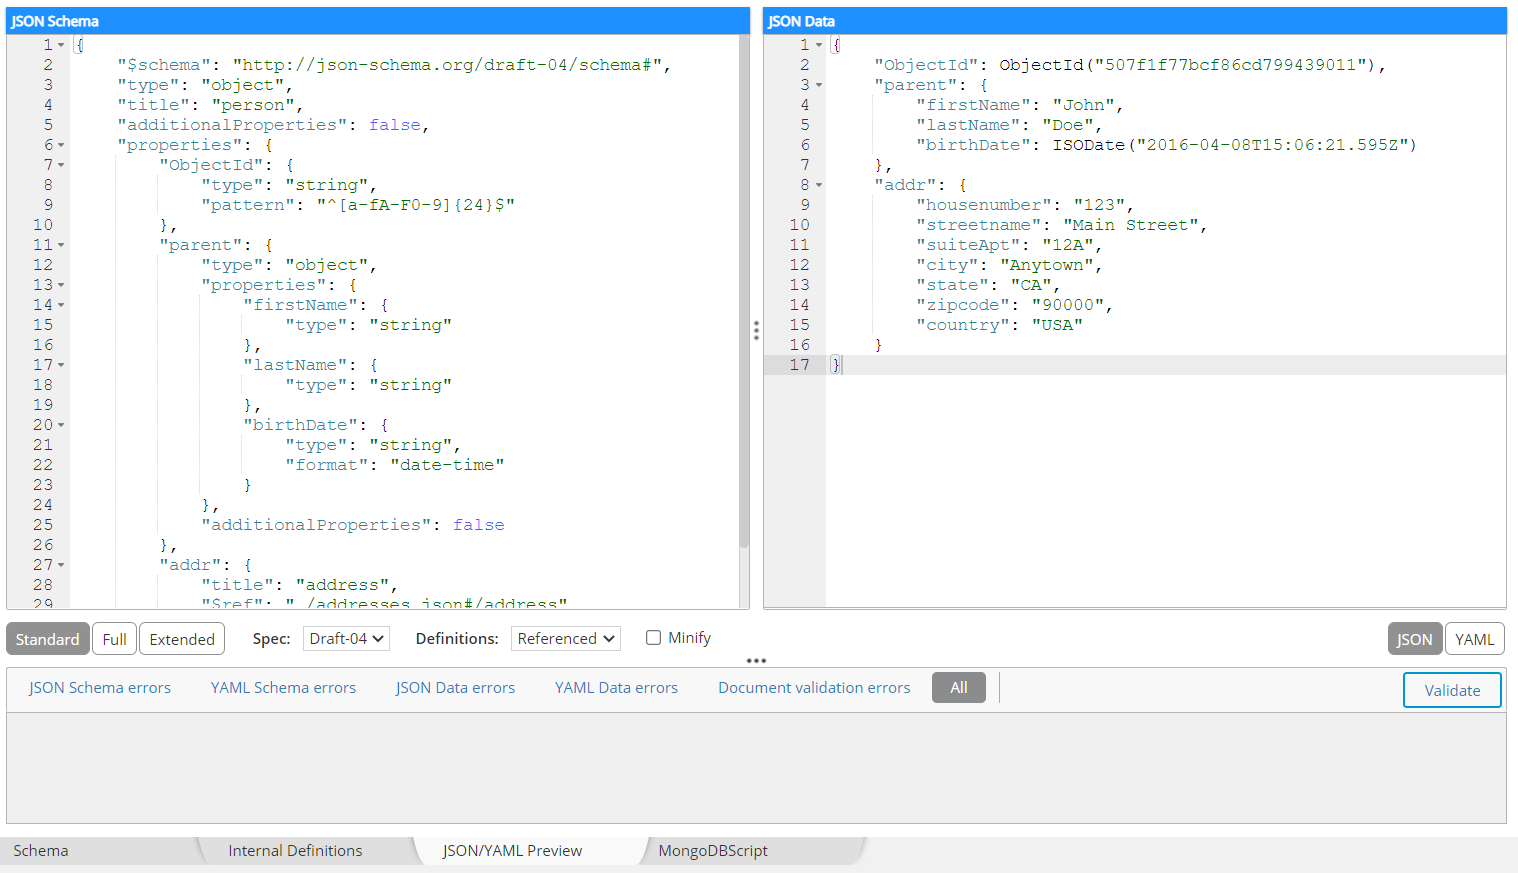
Several options are available for the display of the JSON Preview lower tab. You will find all the details in this page.
The sample document generated in the right pane uses dummy values. You may easily make this document more meaningful by entering, for each attribute a sample property (or example, depending on the JSON Schema version), and this value will be used in the JSON Data pane.
Saving your work
You obviously don't want to lose the data model you have created. You can simply save your data model to the disk of your local machine. Hackolade data models are persisted in non-proprietary JSON files, typically on the file system in a local folder (possibly of a cloned Git repository) or on a network shared directory.
You can save your data models by pressing the save icon in the toolbar, by pressing Ctrl+S (in Windows, or Cmd+S on Mac.)
Even if you don't save your model, a copy is auto-saved on a regular basis in a temporary folder, just in case your PC crashes. Upon restart of the application, you should be prompted in case an unsaved model is found in that folder.
You should also be aware of several options at your disposal:
- you may set your application to Auto-save mode with a time interval of your choice (this is available also as button in the toolbar)
- you may adjust the template for data model file name. You may combine separators with a a few keywords, for example <modelName> - <dbVendor> - <version>
- as .json file extensions are used for JSON documents, JSON Schema files, and also hackolade data models, we suggest you identify Hackolade models with a hck.json extension to differentiate them. You may disable this option.

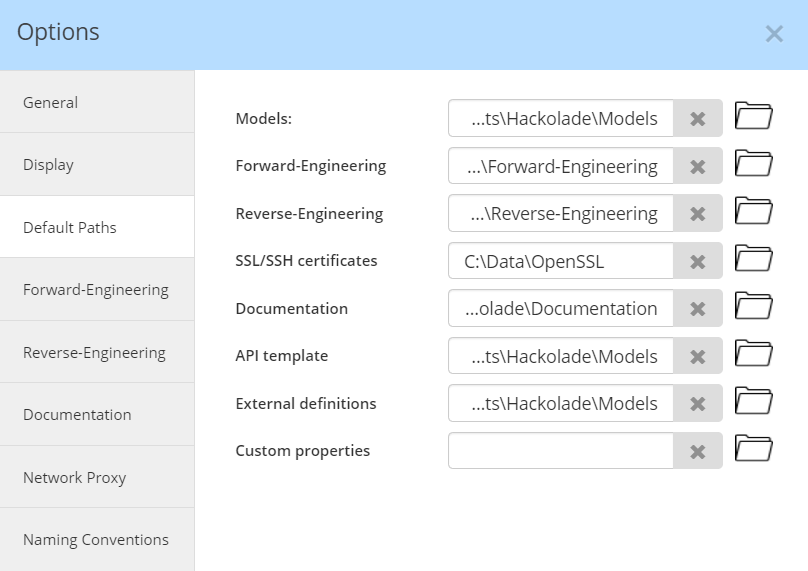
The location by default for data models and other sources and artifacts can also be controlled in the Default Paths tab of the same options dialog:
Finally, it may be that you want to send your data model to our helpdesk for troubleshooting, but don't want to reveal its content. You may choose the option to Save as Obfuscated which occults all the object names and text property content.
Working simultaneously on several data models
If you need to work on different models at the same time, or you want to copy/paste objects from one model to another (of the same target), you can easily open multiple instances of Hackolade Studio, via File > Start New Application Instance (or Ctrl+Shift+I)
Alternatively on Windows, right-click on the Hackolade icon in the toolbar then choose Hackolade:
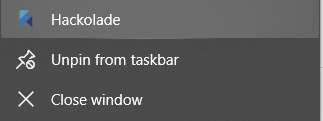
On Mac/Linux, this is done with the command: open -n /Applications/Hackolade.app/
Running multiple instances on the same PC does not require additional license seats.
Other tips
To become a power user of Hackolade Studio, you may want to consult many additional tips and tricks.
In this tutorial, we reviewed different ways to enter information in Hackolade Studio, as well as different ways to visualize the structure you've created. In the next tutorial, we will see how to create more complex structures.